This is a demo store. No orders will be fulfilled.
 首页
首页 400-620-6333
Create a company account
Company accounts can be set up from Aladdin website by the customer, or from the Admin. All requests to create a company account must be approved by the Aladdin store administrator before the account becomes active.
The person who sets up a company account from the Aladdin website is assigned a role as the company administrator. After the request to create a company account is approved, the company administrator can set an account password and log in to the account.
Method 1: Customer creates the account from the Aladdin website
1. In the upper-right corner of the storefront header, the customer clicks Create an Account and chooses Create New Company Account.


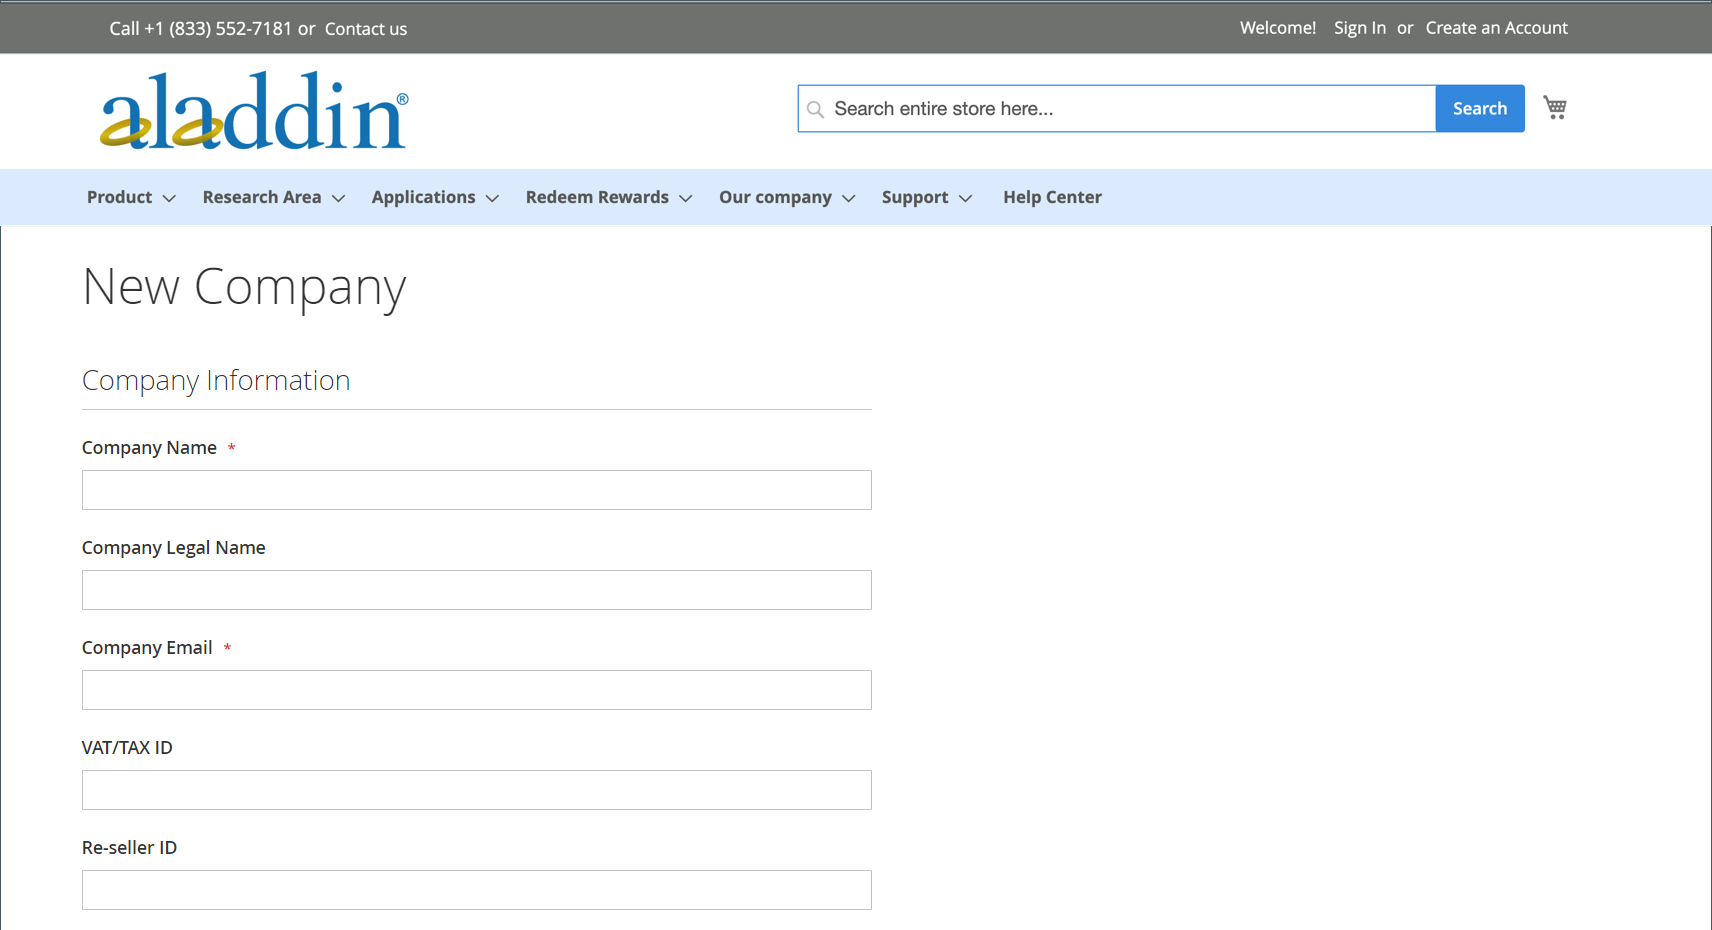
2. In the Company Information section, the customer does the following:
• Completes the required fields:
◦ Company Name
◦ Company Email
• Completes the remaining fields, as applicable:
◦ Company Legal Name
◦ VAT/TAX ID
◦ Re-seller ID

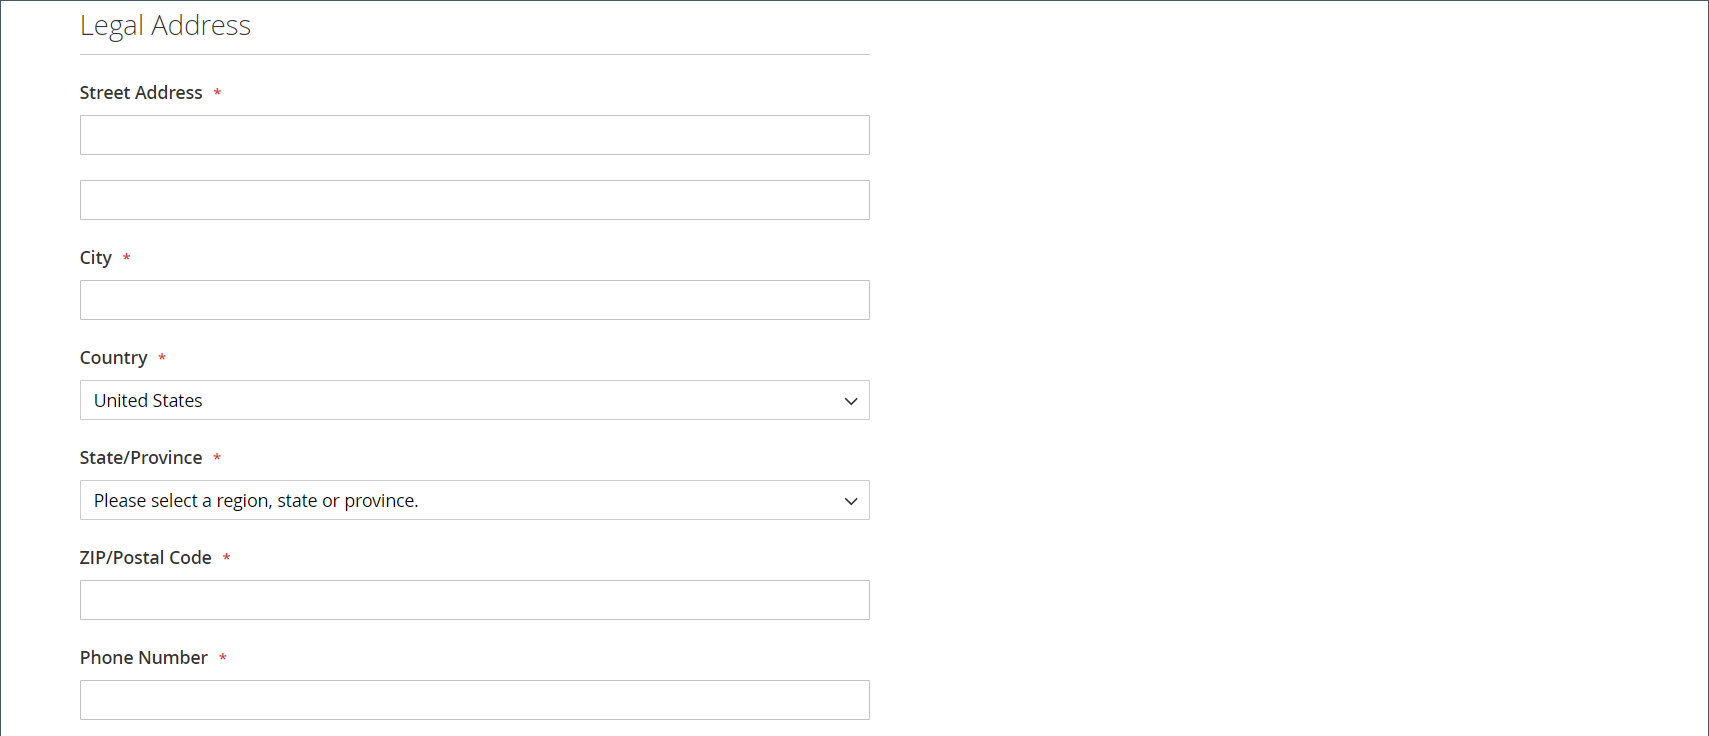
3. Completes the required fields in the Legal Address section.
• Street Address
• City
• Country
• State/Province
• ZIP/Postal Code
• Phone Number

4. In the Company Administrator section, does the following:
• Enters the Email address for the company administrator.
The email address for the company administrator can be the same as the company email address or a different email address. If a different email address is entered, a company user account is created, in addition to the company administrator account.
• Enters the First Name and Last Name of the company administrator.
• Optionally completes the following fields:
◦ Job Title
◦ Gender


5. Completes the validation if reCAPTCHA is enabled for this storefront function.
6. When the information is complete, clicks Submit.
When the request to create a company account is approved by the merchant, email notification is sent to the company administrator.


When the password is set, the company administrator can sign in to the account.
1. On the Admin sidebar, go to Customers > Companies.
2. Click Add New Company and do the following:
◦ Complete these required fields:
◆ Company Name
◆ Company Email
◦ If you are not ready for the account to go live, set Status to Pending Approval. (Set to Active by default.)
◦ If applicable, choose the Admin account of the Sales Representative who is to manage the account.
1. In the Account Information section, do the following:
◦ Complete the following fields as applicable:
◆ Company Legal Name
◆ VAT/TAX ID
◆ Reseller ID
◦ For Comment, enter any additional information about the customer that might be needed.
The comments are visible only from the Admin.


1. In the Legal Address section, complete these required fields:
◦ Street Address
◦ City Country
◦ ZIP/Postal Code
◦ Phone Number
1. In the Company Admin section, do the following:
◦ Complete these required fields:
◆ First Name
◆ Last Name
◦ Complete the following optional parts of the name, which might be applicable to some customer names more than others and can be used at your discretion:
◆ Prefix
◆ Middle Name/Initial
◆ Suffix
◦ If the information is available, complete the remaining fields to describe the company administrator:
◆ Website
◆ Job Title
◆ Gender
◆ Send Welcome Email From


6. In the Company Credit section, which displays a summary of the customer’s credit activity, complete as many of the fields in the lower part of the section as applicable:
• Credit Currency
• Credit Limit
• Allow to Exceed Credit Limit
• Reason for Change
Categories: 管理您的账户